Showing posts with label dessert. Show all posts

Sunday, January 1, 2012

Smores Cupcakes- Perfect endings

Print

Pin It


Have you ever taken a bite out of something and actually jerked from the amazing and surprising taste?

That was the reaction I had when I first nibbled on these puppies.
Rich,moist, chocolaty cake, topped with perfectly sweetened marshmallow icing; sticky and soft. But wait! There is more, keep nibbling and you are surprised with a crunchy graham cracker crust to add texture and surprise. This is the total fix for every one's favorite Summer smores dessert.

I know what you're probably thinking..  Great, looks and sounds yummy but I just sold my soul to the fitness gods and this is not on the ok list. Well, probably not. I too have signed that New Year, new start contract, and sweets are not the guest of honor.

But, a few things to keep in mind. 

1) Is it really realistic to start a diet the day you are tired, stuffed full of last nights indulgences and possibly a bit hung over?
2) This is not a dessert you make for a Tuesday night dinner or lunch box surprise. This is one of those, I need a show stopper for my pot luck dinner or to impress the in-laws.
3) Since this recipe is pretty generous in the # of cakes you get, you can actually make most of this a freeze it for another time.

So here is to one last day of indulgence (till the Super Bowl anyway) and a perfect way to end the holiday season.

Smores Cupcakes
Adapted from a Martha Stewart and my mom.

Graham Crust Ingredients

  • (20) graham cracker squares crushed with food processor
    • you can also crush by putting into large freezer bag and pounding with fist.. (good workout)
  • 1/4 cup sugar
  • 1/3 cup unsalted butter- melted
Mama's Chocolate Cake Ingredients
  • (2) cups all purpose flour
  • (1) teaspoon kosher salt
  • (2) teaspoons baking soda
  • (1) teaspoon baking powder
  • 3/4 unsweetened cocoa
  • (2) cups granulated sugar
  • 1/3 cup vegetable oil
  • (1) cup black coffee
  • (1) cup milk
  • (2) large eggs slightly beaten
  • (1) teaspoon of vanilla extract
Marshmallow Frosting Ingredients (via Martha Stewart)

  • (8) egg whites
  • (2) cups granulated sugar
  • (1/2) teaspoon cream of tartar powder
  • (2) teaspoons vanilla extract

Method
  • Preheat oven to 350℉
  • Line (2) muffin trays with paper liners
Crust
  • Combine all ingredients in medium bowl until it looks like wet sand.
  • Add (1) table spoon or so of mixture to each cupcake mold.
  • Pack down the crumbs with the back of spoon to make a flat base.
  • Bake in oven for 5-7 mins to firm up crust.
Cake
  • Combine all dry ingredients into your mixing bowl. Give the ingredients a whirl or mix to blend together.
  • Next mix in all of your wet ingredients.
  • Mix entire batter together for 3-4 mins. Be sure not to over beat and remember to scrape the sides of your bowl once or twice.
**This batter is more then you will need for the 24 cupcakes. You can fill the tins and then freeze remaining batter for another day. I like to use freezer bags.. Simply defrost, cut the tip and squeezer out. No Mess!!
  • Fill cupcake tins about 3/4 of the way. 
  • Bake at 350 for 18-20 mins
  • Remove when it comes out fork clean
  • Let cool completely
Marshmallow Frosting
  • Start with really clean and dry bowls for this. It's essential to success.
  • While cupcakes are cooling, boil a pot of water.
  • In a heat safe bowl, crack and separate 8 eggs. Saving the whites for the the recipe.
  • Add sugar and cream of tater powder to the bowl
  • Place bowl over  simmering water. Whisk constantly until sugar dissolves and whites are warm. 4-5 mins.
  • When whites warm and sugar dissolves transfer mixture to electric mixing bowl. 
    • You can use a hand mixer and keep in same bowl. It will take a bit longer.
  • Once mixture is transferred, using your whisk attachment on your mixer, start mixing at a slow speed. 
  • Once the whites start to turn opaque, stitch to a high speed.
  • Keep whisking until stiff peaks form.
Piping and toasting
  • Once your cakes are cool, and the frosting is done, scoop frosting into a large freezer bag. If you have any decorating tips, be sure to fit the bag prior to filling.
  • If don't have any tips, fill the bag and snip the bottom of bag about 1/2 inch on a diagonal.
  • Starting at the outer edge, slowly squeeze bag from top and trace the cupcake in a circular motion moving towards the center.
  • Lastly, you can broil the cakes under the broiler for 30 seconds or use a kitchen torch to add that authentic toasted goodness.

Enjoy!!

Wednesday, July 27, 2011

Ultimate cravings killer-Coffee Ice Cream

Print

Ok, so 7 days after my Godiva Chocolate Truffle Coffee arrived, I am still loving it. Today's recipe incorporates the ultimate Ice Coffee transformation. I used brewed iced coffee and turned it into a yummy and soft ice cream. 
When Rick and I got married, I got an ice cream maker. Tried it once, failed miserably and never touched it again. Till my dear friend and co-foodie partner at work Sarah, started whipping up some yummy treats in her machine. She totally inspired me. Sarah, this one is for you!

@Godiva Chocolate Truffle Coffee Ice Cream
* No ice cream maker? No problem. Keep reading.

Ingredients:
  • 3/4 cup sugar
  • 3 large egg yolks
  • 2 teaspoons all-purpose flour
  • 1/4 teaspoon salt
  • 1 cup milk
  •  Godiva Chocolate Truffle Coffee.  3/4 cup Whole bean or 5 table spoons ground
  • *Whole bean would be easier
  • 1 1/2 cups heavy cream 
  • 1/2 teaspoon vanilla extract
  • 2 tablespoons cocoa powder (optional)
  • 1/2 cup chocolate chips

Method
In a medium mixing bowl, beat the sugar into the yolks until the are thick and pale yellow. Beat in the flour, cocoa and salt. Set aside
Combine milk, vanilla and whole beans in a heavy medium sized saucepan. Bring to a boil over medium heat. lower heat, cover and keep warm for 20 mins. I used ground coffee. I warmed the milk and cream in the microwave first, then brewed in a french press.

Remove the coffee beans with a skimmer of slotted spoon. Slowly beat the warm milk or brewed coffee into the eggs and sugar. Just a wee bit at a time, to slowly warm the egg mixture. You don't want to cook the eggs. Once the eggs have been warmed finish adding the rest of milk/brewed coffee. Whisk well. Pour the rest of the mixture back into the pan and place over low heat. Stir constantly with a whisk or wooden spoon until the custard thickens. Be careful not to let the mixture boil.
Remove from the heat and put in fridge to let cool. Overnight is best.

While waiting for custard to chill. Chop or blend your chocolate chips into fine pieces. 
Stir the cooled custard and then pour into your ice cream maker. When the mixture thickens slightly pour in the chocolate chips. 

**you can skip the ice cream maker and just pour straight into a freezer safe container. Let set for 3 hours, then mix in the chocolate chips. Ice cream may not be as airy, but still yummy.

When done (ice cream will be a soft serve consistency) transfer to a freezer safe container and freeze for 2 hours. 

Enjoy!

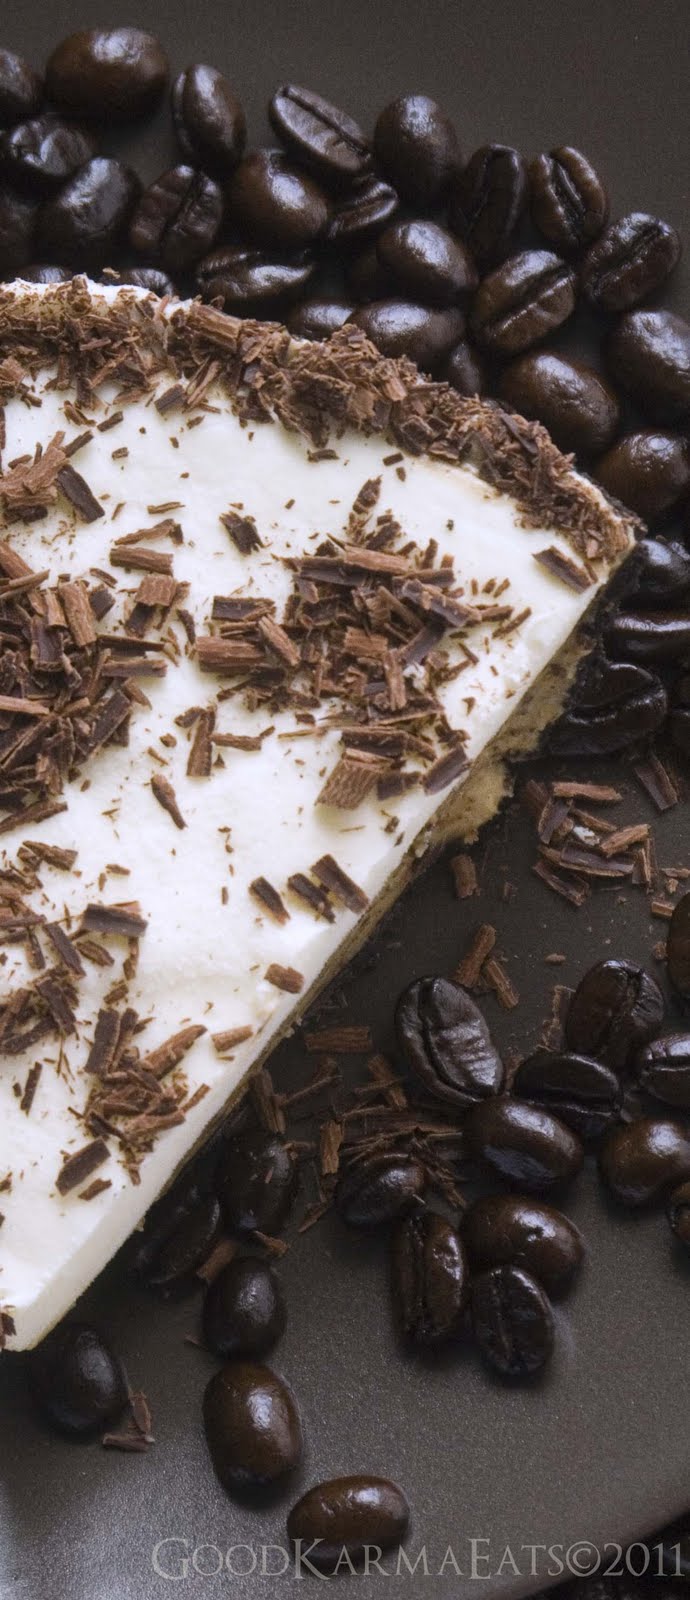
Check back later this week for my post on Godiva Chocolate Truffle Coffee Ice Cream Pie.
Here is a sneak peak!

Wednesday, February 9, 2011

Got a sweet tooth? Try this seasonal delight

Print


Here we go again. My cart rolls down the produce aisle and it's the same story as the last time we were here. (me and baby girl to be clear). Choices are: apples, bananas, or $5.00 for three semi-ripe strawberries. Yeah, I'm bitter about winter draughts for fruit. What of it?
Oh my wonderful July how I miss you! Your luscious red juicy strawberries, sweet tiny blueberries, tart and strange looking rhubarb, peaches, plums the list goes on.. All ready for the picking at a super cheap price.

Then, I turn the corner and see them. The cutest little orange balls of fruit, Clementines. The sign says sweet, seedless, easy to peel and in season.

So, I pick up a few.
A little plain yogurt, a few frozen strawberries, and zap, instant smoothie. Fresh, creamy and sweet. 
So the next time you are in the store, take a detour to the fruit before you hit the bakery aisle. In season Clementines might surprise you. 


Sunday, January 16, 2011

Rich Fudge Brownies for your love- And a contest!

Print

Ok, so you may be thinking, "Hey? didn't she just talk about getting back to eating well?" Yes I did!
BUT, eating well, doesn't mean having to give up your faves. It means, knowing when to eat just a bit, sharing with others or freezing some and coming back for it later. Yup you can freeze a couple at a time and nibble all month long.

These brownies are really rich and chewy. Just like the yummy one's you get from Betty Crocker.
To be perfectly honest, I am not convinced it its worth the effort to make from scratch in this case. As much as I like creating edibles from the basics of the kitchen, sometimes it may be ok to just dump the box and add the eggs. But, these came in really handy this weekend when I realized I was out of other ingredients for my famous cupcakes 30 mins before they arrived.
It was pretty easy, and had pretty minimal kitchen clean up. The less pots to clean the better in my book.

Result: rich, chewy and chocolaty. It was a hit. Especially with Charlotte.

NOTE TO SELF: Do not give an already spicy 2 year old a huge chocolate brownie right before bed. We now know Charley will be like after a night of drinking. Daddy was not laughing as much as I was ;)

Want to give someone special a gift for Valentines Day?
Check out our latest Contest.

Rich Fudge Brownies
Adapted from King Arthur


Ingredients

Directions

1) Preheat the oven to 350°F. Lightly grease a 9" x 13" pan
2) In a medium-sized microwave-safe bowl, or in a saucepan set over low heat, melt the butter, then add the sugar and stir to combine. Return the mixture to the heat (or microwave) briefly, just until it's hot (about 110°F to 120°F), but not bubbling; it'll become shiny looking as you stir it. Heating this mixture a second time will dissolve more of the sugar, which will yield a shiny top crust on your brownies.
3) While the sugar heats a second time, crack the 4 eggs into a bowl, and beat them with the cocoa, salt, baking powder, espresso powder, and vanilla till smooth.
4) Add the hot butter/sugar mixture, stirring until smooth.
5) Add the flour and chips, again stirring until smooth. Note: If you want the chips to remain intact in the baked brownies, rather than melting in, let the batter cool in the bowl for about 20 minutes before stirring in the chips.
6) Spoon the batter into a lightly greased 9" x 13" pan.
7) Bake the brownies for about 30 minutes, until a cake tester inserted into the center comes out clean, or with just a few moist crumbs clinging to it. The brownies should feel set on the edges, and the center should look very moist, but not uncooked. Remove them from the oven and cool on a rack before cutting and serving.
Enjoy. and don't forget to enter the contest.

Sunday, November 28, 2010

Repeat after me- Butter is NOT evil! Holiday Cookies Wk 4

Print

Last night I had a dream that Richard Simmons and Jillian Michaels came to perform an exorcism on me  because my head was spinning around and I had butter shooting out of my ears. I also think I was ranting something about baking soda will be my savior.. 

Yes people, the Holiday season has begun. And I am literally as stuffed as that 20 lb turkey I slathered in butter and roasted on Thursday. Yet somehow, I continue to polish of the last piece of pumpkin pie as I write this. 

Don't get my wrong, Thanksgiving is my FAVORITE holiday and I really enjoy the meal prep, but I totally have my fat pants on right now. Tomorrow calls for a whole grain and fruit detox.  And hopefully no one will be in the sharing mood and bring in left overs to work. 

Here's the irony. After all that cooking and eating, I still wanted to continue my weekly ritual and prepare the cookies for week 4.

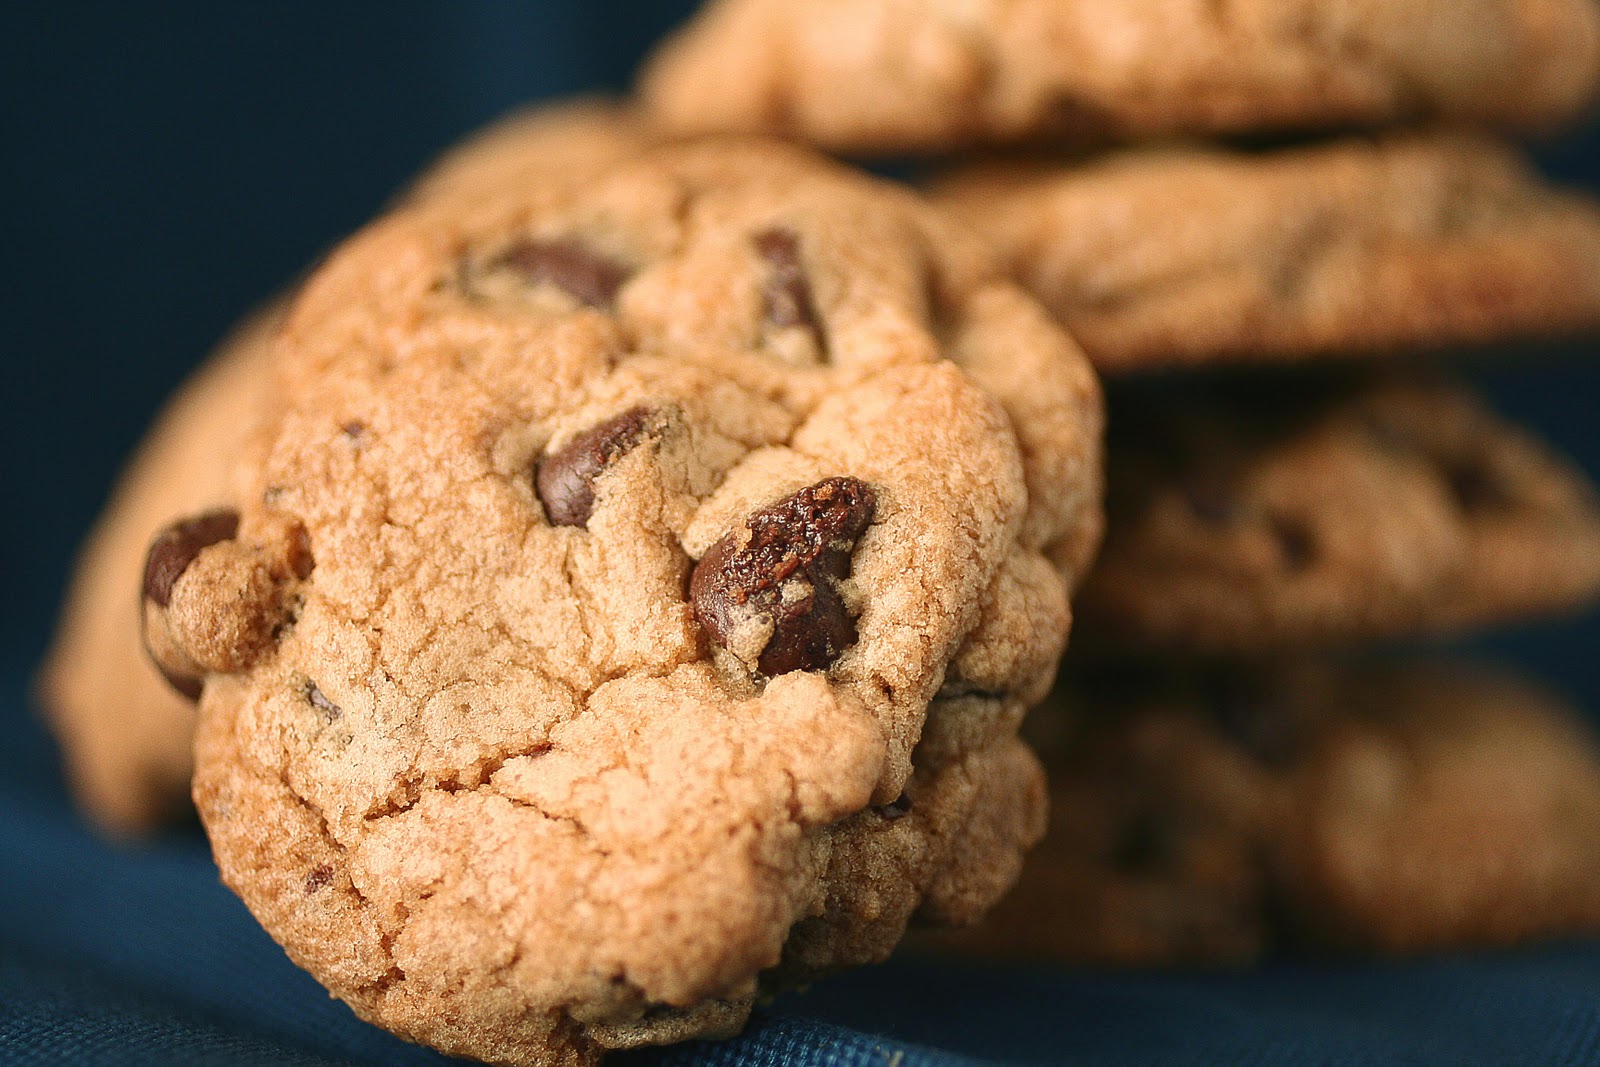
The cookie of choice?  Chocolate Chip of course. I actually struggle with this one a bit, because there is part of me that feels as if it really should not be part of the line up. I guess because it's a pretty common cookie. But who am I to look down on most coveted comfort food?  I love these cookies, and they are the best for this project for a number of reasons.

1) There are a million great Chocolate Chip varieties and recipes out there to choose from.
2) Everyone loves these. A sure winner.
3) The recipe makes a butt load and it makes a great filler so you can give people a lot of these and only a few of the pricier or special cookies.
My choice? Good old fashion Toll House cookies. With a bit of a twist of course;)  You can choose to follow my adaptation or theirs.

Couple of tips on this one. A small ice cream scooper comes in really handy here. I have a #70, whatever that means, but it makes it really easy to dose out, and less messy. Also, I like my cookies soft, so once they are baked, if you store them in an airtight container with a slice of bread, they will soften up. If you like them crunchy, skip the bread.

Chocolate Chip Cookies
adapted by Nestle Toll House

Prep: 10 mins
Cook Time: 12-15 mins per batch.
Makes 36-48 cookies

Ingredients
  • 2 1/4 cups all purpose flour
  • 1 tsp baking soda
  • 1 tsp salt
  • 1/2 cup shortening like Crisco. * I like butter flavored. This makes the cookies puff a bit.
  • 1/2 cup (1 stick) softened butter
  • 3/4 cup packed brown sugar
  • 3/4 cup granulated sugar
  • 1 tsp vanilla extract
  • 2 large eggs
  • 1 package chocolate chips, or chunks

Method
  1. Preheat oven to 375 degrees
  2. Combine butter, shortening, and sugars in mixer until pale and fluffy.
  3. Add baking soda, salt and vanilla and mix until combined.
  4. Add eggs one at a time until well combined.
  5. Add flour a bit a a time until just combined.
  6. Add Chocolate chips 
  7. At this point you can bake or freeze until ready to use
  8. Scoop on greased baking sheet and bake for 12-15 mins until lightly golden brown.
  9. Lay on wire rack to cool and then devour.

Enjoy!  I am off to take a Tums and make some Mama's Oatmeal for tomorrow.


Sunday, November 14, 2010

Week 2- Holiday Cookies.. Basic Sugar Cookie

Print

I know that they say that getting kids involved while you are cooking is great. They eat better, it's educational, it's involvement.  Today, I say the hell with that. Sometimes you just want to get in and out of the kitchen. I love the "idea" of the kids helping, and really truly do let them get into it.
But some times, what could have been a 10 minute, relatively low-mess project, turns into flour all over my kitchen, some kind of gooey, sticky, drippy thing hanging from my drawer handles and baby girl soaking wet.  

I literally felt like I was playing beat the clock on this blog entry.. I could hear the race horse anthem playing in my head as I quickly rolled out my dough and stamped out my cookies. Then, with a hint of sarcasm in his voice, I can hear my husband taunting me with that phase.. the dreaded phrase of "she's Ah-hup. UGH.. the baby was up from her nap.. Really, just 5 more mins??? 

Honestly, I have no right to complain. Somehow I have been blessed with excellent sleepers at night and naps have always been 2-3 hours for both of them.

But, Charlotte being up meant one thing, a partner in the kitchen, and a partner like Charlotte is like letting a herd of cats into the kitchen.. I love her, but not today..  

My point in sharing this, is that this week's recipe for Holiday Cookies is super easy, and super delicious, but if you have a 2 year old "helping" please plan for more time.. ;)

These cookies for me are amazing. You can use them plain, decorate with royal icing, roll into balls and press chocolate kisses or jam into the center the list goes on. Really fast, really easy, totally yummy.
Enjoy and may your kitchen stay flour friendly..


Basic Sugar Cookie recipe
Adapted from Real Simple

Prep Time: 25mins
Cook time: 20 mins
Makes 36 cookies

Ingredients
  •             5 cups all-purpose flour, spooned and leveled, plus more for shaping the cookies
  •             ½ teaspoon baking soda
  •             ½ teaspoon kosher salt
  •             2 cups unsalted butter (4 sticks), at room temperature
  •             1 ½ cup sugar
  •             large eggs
  •             2 teaspoon pure vanilla extract


Directions
1.              In a large bowl, whisk together the flour, baking soda, and salt. Set aside.
2.              Using an electric mixer, beat the butter and sugar until smooth. Add the egg and beat until fluffy, about 2 minutes. Beat in the vanilla.
3.              With the mixer on low, gradually add the flour mixture, mixing until just incorporated (the dough will be stiff). Shape into a disk and (unless otherwise specified in an individual recipe) refrigerate, wrapped, for at least 1 hour or freeze until ready to bake off for the holidays.
4.             Alternately, make cutout cookies by doing the following: Heat oven to 350° F. On a floured surface, roll out each disk ¼ inch thick. Cut into shapes and place on parchment-lined baking sheets; refrigerate until firm. Sprinkle with decorating sugar, if using, and bake until just beginning to brown, 12 to 15 minutes.
Store cookies in an airtight container at room temperature for up to 1 week.


Sunday, November 7, 2010

Mama's Secret's Out- The famous brownie recipe

Print

I have coveted this recipe for years. It's the kind of recipe that not just wow's your guests, it becomes legendary. I pause even as I write this, questioning if sharing is really something I want to do. But contrary to my husband's belief that only children never share, I am sharing.

This recipe has quite a history in it of itself; even before it got to me.

Once there was a wonderfully sweet guy that I worked with. I didnt' know him very well, not many of us did. All we knew was his name, a bit about his job and that his mom made these killer brownies. We knew this because every couple of months this shy and unassuming guy came around with this tin of brownies that his mother made for everyone. 

Soon, the word of how great these brownies were spread throughout the office and people would line up like a Krispie Kreme just opened up.

After a few years, he confided in a few of us that these ooey, gooey mouthfuls of heaven had a past sentimental symbolism. As a kid, he would go to camp every year. He was painfully shy and had difficulty making friends. So, his mom being the caring person she was, would make these brownies and send them along in a care package. She sent so many that he had no choice but to share. Easy Peasy.. instant ice breaker...
20 years later mama never stopped sending the brownies. I guess you are mom forever and never stop wanting to help your kids. My mom certainly hasn't; and while I haven't seen any shyness in my brewd, I can't wait to pass along mama's recipe and help them "break the ice"

With and gulp and a smile, I pass along "Mama's Brownies". Clearly kid tested...Mother approved.

Prep: 15 mins.. (carmels are the worst part)
Cooking time: 28-35 mins...
*tip- tastes better if made the day before.

Ingredients
  • 1/2 cup Evaporated Milk
  • 1 bag Kraft Caramels
  • 1 package German Chocolate Cake Mix
  • 1/2 cup Evaporated milk 
  • 1 1/2 sticks softened butter
  • 1 cup walnuts (slightly chopped)
  • 1 cup coconut flakes
  • 12 oz chocolate chips
Method
  1. Preheat oven to 350 degrees.
  2. Unwrap caramels from wrappers
  3. In large heat proof bowl place caramels and 1/2 cup evaporated milk
  4. Heat caramels in microwave on high for 5 minutes. Stopping and stirring occasionally. Continue process for longer until caramels are melted.
  5. When caramels are melted, continue stirring to incorporate all milk. Set aside and let cool a bit.
  6. In mixer, incorporate cake mix, 1/2 cup evaporated milk, & butter. Mix well.
  7. Add coconut and nuts. Mix well.. It will have the consistency of cookie dough.
  8. In 9 x13 metal pan ( coated with PAM or lined with Aluminum foil) spread half the dough evenly on pan.
  9. Bake in oven for 8 mins and then remove to add the remaining ingredients.
  10. Spread caramel evenly over pan. 
  11. Next sprinkle chocolate chips over caramel layer.
  12. Lastly, drop remaining dough mix over caramel. 
    • Try to drop as well spread as possible. The dough will expand a bit while baking but since the initial dough is thick, and the caramel layer is gooey, you wont be able to spread it easily like you will be tempted to do. I find an offset spatula works well with this recipe.
  13. Continue baking for an additional 25 mins. 
  14. Take out of oven.
    • It will still be wobbly and gooey, but it's done. 
  15. Let cool, slice with a knife to make squares, and then refrigerate overnight. If you can wait that long.
Enjoy.. and let me know how your reviews are.