Showing posts with label chocolate. Show all posts

Saturday, August 20, 2011

Day Late, Dollar Short? Move over cupcakes

Print

Is anyone really a true-original artist anymore? This topic has been brought up many times in my colorful and creative household. Do cooks and bakers really create revolutionary, history making delectables anymore? I say who cares. Taking that beloved recipe from grandma and changing it up a wee bit doesn't make make you a genius but it sure as hell makes you feel like one for a bit when it comes out right.

The cupcake has been brought back to life over and over again. Sex and the City, and our favorite 4 singles, literally put Magnolia Bakery on the map. Before you knew it, cupcake shops were popping up all over the city. Then, again to reinvent the scene, came the cupcake trucks, the mini cupcake gals, and of course, the cupcake reality shows. Seemed like everyone who was into baking was suddenly a cupcake genius.

Don't get me wrong, I can not pass a good cupcake ever.. 

A few years ago, there was a bit of an uprising in the food nation. After everyone got on the band wagon for reinventing the cupcake, there was an uproar for something new. Something to distract us from the yet another cupcake shop.

But, somewhere tucked in the madness of reinventing something that has been around since 1796, according to Wikipedia, there was a bit of a calling for something a bit different. I bring you the Whoopie Pie.

According to the book "Whoopie Pies" by Sarah Billingsley and Amy Treadwell, whoopie pies hail from the Northeast region. They are a mix between cake and cookie. I like to call them an inside out cupcake. Soft pillowy cake, shaped like a cookie with the most amazing fluffy frosting in between. No wrappers, no nonsense.. I dare you to eat just one. 

If you remember, I had a post last November about pumpkin whoopie pies, with Maple Frosting. Do NOT MISS THOSE for the fall..

But this time I went for the classic. Chocolate with Marshmallow Cream Filling...

Sadly, I don't think that the push to overthrow the cupcake kings with whoopie pies has actually caught on, and I may have missed the bandwagon all together, but in our house, these are staying on the menu :)

Classic Chocolate Whoopie Pies with Marshmallow Cream
**Tip- these are best eaten same day. You can store in an air tight container for up to one week, or you can freeze up to a month. If they last that long.

Cake Ingredients

  • 1 1/2 cups all purpose flour
  • 2/3 cup unsweetened cocoa
  • 1 1/2 teaspoon baking soda
  • 1/2 teaspoon salt
  • 1/2 teaspoon coffee 
  • 4 tablespoons unsalted butter- at room temperature
  • 4 tablespoons vegetable shortening
  • 1 (packed) cup dark brown sugar
  • *I actually used Splenda dark brown sugar and it came out perfect. Just use 1/2 cup instead. (bonus!)
  • 1 large egg
  • 1 teaspoon vanilla extract
  • 1 1/4 cup milk

Filling Ingredients

  • 1 1/2 cups marshmallow Fluff
  • 1 1/4 cups vegetable shortening
  • 1 cup confectioners sugar
  • 1 tablespoon vanilla extract
Method
Position a rack in the center of the oven and preheat the oven to 375 degrees. 
Line two baking sheets wit h parchment paper.

Sift together the flour, cocoa powder, baking soda, and salt in a bowl. In another bowl beat together the butter, shortening, and brown sugar. Beat until fluffy- 3 mins.

Add the egg and vanilla for another 2 mins.

Add half of the flour mixture and half of the milk to the batter and beat on low until just incorporated. Scrape down sides of the bowl. Add the remaining flour mixture and milk and beat until completely smooth.

Using a tablespoon, drop batter on to baking sheets. Space them about 2 inches apart. 
Bake about 10 mins or until pies spring bake with pressed gently.

Remove and let cool completely .

Makes about 48 two inch cakes for 24 pies.

Filling:
Add all ingredients to bowl and mix together.
Scoop mixture into empty Gallon Freezer back. Snip one corner off bag and pipe the frosting onto 1/2 of pie. Sandwich to make complete pie.

Alternatively: you can spread the frosting with a butter knife or offset spatula. I just like having one less dish to wash at this point..

Enjoy


Wednesday, July 27, 2011

Ultimate cravings killer-Coffee Ice Cream

Print

Ok, so 7 days after my Godiva Chocolate Truffle Coffee arrived, I am still loving it. Today's recipe incorporates the ultimate Ice Coffee transformation. I used brewed iced coffee and turned it into a yummy and soft ice cream. 
When Rick and I got married, I got an ice cream maker. Tried it once, failed miserably and never touched it again. Till my dear friend and co-foodie partner at work Sarah, started whipping up some yummy treats in her machine. She totally inspired me. Sarah, this one is for you!

@Godiva Chocolate Truffle Coffee Ice Cream
* No ice cream maker? No problem. Keep reading.

Ingredients:
  • 3/4 cup sugar
  • 3 large egg yolks
  • 2 teaspoons all-purpose flour
  • 1/4 teaspoon salt
  • 1 cup milk
  •  Godiva Chocolate Truffle Coffee.  3/4 cup Whole bean or 5 table spoons ground
  • *Whole bean would be easier
  • 1 1/2 cups heavy cream 
  • 1/2 teaspoon vanilla extract
  • 2 tablespoons cocoa powder (optional)
  • 1/2 cup chocolate chips

Method
In a medium mixing bowl, beat the sugar into the yolks until the are thick and pale yellow. Beat in the flour, cocoa and salt. Set aside
Combine milk, vanilla and whole beans in a heavy medium sized saucepan. Bring to a boil over medium heat. lower heat, cover and keep warm for 20 mins. I used ground coffee. I warmed the milk and cream in the microwave first, then brewed in a french press.

Remove the coffee beans with a skimmer of slotted spoon. Slowly beat the warm milk or brewed coffee into the eggs and sugar. Just a wee bit at a time, to slowly warm the egg mixture. You don't want to cook the eggs. Once the eggs have been warmed finish adding the rest of milk/brewed coffee. Whisk well. Pour the rest of the mixture back into the pan and place over low heat. Stir constantly with a whisk or wooden spoon until the custard thickens. Be careful not to let the mixture boil.
Remove from the heat and put in fridge to let cool. Overnight is best.

While waiting for custard to chill. Chop or blend your chocolate chips into fine pieces. 
Stir the cooled custard and then pour into your ice cream maker. When the mixture thickens slightly pour in the chocolate chips. 

**you can skip the ice cream maker and just pour straight into a freezer safe container. Let set for 3 hours, then mix in the chocolate chips. Ice cream may not be as airy, but still yummy.

When done (ice cream will be a soft serve consistency) transfer to a freezer safe container and freeze for 2 hours. 

Enjoy!

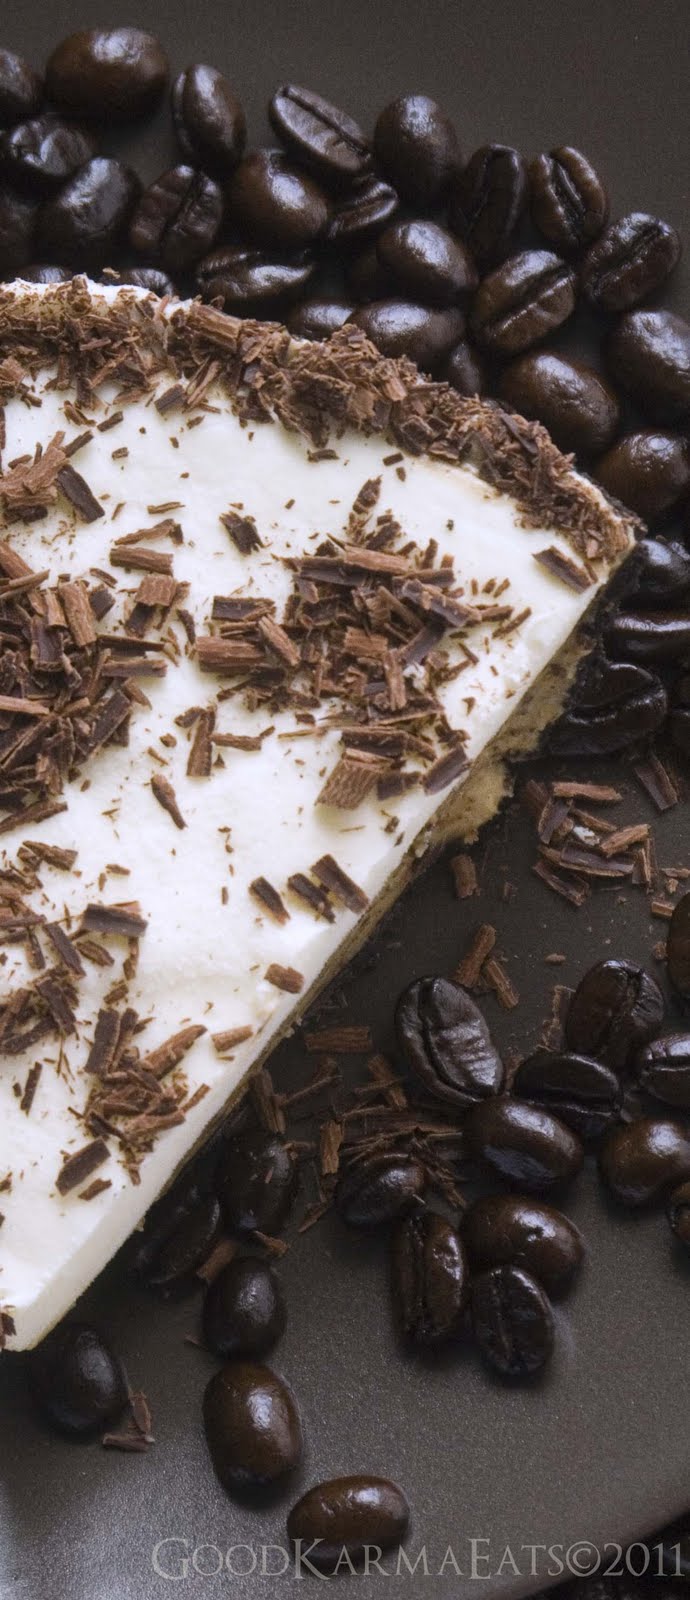
Check back later this week for my post on Godiva Chocolate Truffle Coffee Ice Cream Pie.
Here is a sneak peak!

Sunday, July 24, 2011

Coffee's Secret Friend- Godiva Chocolate

Print

This week's posts will be dedicated to two wonderful friends.   Coffee and Chocolate.

I recently was given trial samples of Godiva Chocolate's new flavored coffees. I have been inspired. So inspired that I have decided to have a week full of chocolate and coffee paired recipes. There will be give-aways too!

More on the actual product in a second.

First I want to let you in on a little baking secret. Chocolate and coffee, are the best of friends. In my opinion, coffee like is that friend that friend you had in middle school, you know the one, your wing man. She tried out for debate team with you, the first you called when you got your first zit, and together, you were a power house. Alone? pretty ok, but together, nothing could stop you. Add a wee bit of espresso to any chocolate mixture and suddenly you are a rock star

Earlier this week I got a package in the mail. I was immediately excited as I hardly ever get anything in the mail but bills. My husband is usually the special one with lots of packages.. two other best friends. Hubby and Ebay.

When I opened the box, it was this adorable red box, and the Whoosh, the aroma was unbelievable.. Chocolate, vanilla, coffee? Yes, it was my free trials. Chocolate Truffle flavored coffee and French Vanilla. Rick and I would have tried a cup right then and there but it was already 8pm.. Ok fine, the morning it is.

I pause for a second, as this is an important part of the story, hubby, NEVER has flavored coffee. Its as if it's a bad word or something. He drinks it black and strong..  However, he is also a huge chocolate fan, so in the interest of addiction, and support of my blogging endeavors, he was willing to give it a whirl.

The next morning, the Chocolate Truffle was opened a brewed while I was corralling my cats kids.
I could smell the aroma of chocolate wafting through the second floor and I yelled down to confirm it was Godiva waking me up with such a wonderful alarm.

Rick asked me to try it straight first, before I added my fixins'. I made a face, as the thought of not adding sugar and cream was deadly to me.
But he was right, in all fairness, if I was to review, I had to go pure first.. Sip, mmm. not bad. Yummy in fact.

Now, coffee is a personal taste. People have made hobby out of ordering it just the way they like. I personally like it with a few fixins. Rick, likes it straight. So I proceed to make my hurry up out the door ice coffee. Little ice, two cups, toss it back and forth to cool off (read below for the proper way to make ice coffee). Some sugar, some cream and I am out the door.

I wait till I am on my commuter train before I start drinking. I wanted to make sure it was nice and cold. Sip, wow.. coffee, chocolate heaven. I pull out my smartphone to check out what's going on with my Facebook fans and I see that Rick has already posted something about how good the coffee was. YES, mister, no flavored coffee for me. But, he was right. yummy. chocolaty and not that usually artificially flavored after taste. I would love to know if there is real chocolate in it.

We went through a half bag before the weekend came. By then I had so many ideas on what to make with my iced coffee mixture, I decided to make a few things and make this week coffee and chocolate week.
We will get to the French Vanilla eventually, but for now, chocolate is the winner..
I have a few recipes ramped up. Check back often to see the recipes.

  • Iced Coffee-101
  • Ice coffee ice cream
  • Coffee ice cream pie with chocolate cookie crumb
  • Rich chocolate Cake with the secret ingredient- you guess it. Coffee.


Ice Coffee- 101
Makes 8 cups of coffee/ 6 cups Iced Coffee

  • Select favorite ground coffee
  • Add 16 tablespoons of coffee to pot/filter/repository
  • Add 8 cups of filtered water
  • Brew as usual.
  • Let coffee cool a bit, and then pour into air tight container. One that pours is best. if you like sugar in your coffee, now would be a good time to add. Adding regular sugar/sweetener to cold coffee is a challenge. It does not dissolve well. 
  • Let cool in refrigerator for 4 hours or overnight.
To drink:

  • fill glass full of ice, pour desired amount of iced brewed coffee into glass, add simple syrup or sugar to drink. Add cream as desired.**remember to watch the cream go in.. Truly a work of art..
Enjoy.

Keep checking back this week for more coffee recipes and giveaways for Godiva Flavored Coffees... let me know what you think or would like to try.

Sunday, January 16, 2011

Rich Fudge Brownies for your love- And a contest!

Print

Ok, so you may be thinking, "Hey? didn't she just talk about getting back to eating well?" Yes I did!
BUT, eating well, doesn't mean having to give up your faves. It means, knowing when to eat just a bit, sharing with others or freezing some and coming back for it later. Yup you can freeze a couple at a time and nibble all month long.

These brownies are really rich and chewy. Just like the yummy one's you get from Betty Crocker.
To be perfectly honest, I am not convinced it its worth the effort to make from scratch in this case. As much as I like creating edibles from the basics of the kitchen, sometimes it may be ok to just dump the box and add the eggs. But, these came in really handy this weekend when I realized I was out of other ingredients for my famous cupcakes 30 mins before they arrived.
It was pretty easy, and had pretty minimal kitchen clean up. The less pots to clean the better in my book.

Result: rich, chewy and chocolaty. It was a hit. Especially with Charlotte.

NOTE TO SELF: Do not give an already spicy 2 year old a huge chocolate brownie right before bed. We now know Charley will be like after a night of drinking. Daddy was not laughing as much as I was ;)

Want to give someone special a gift for Valentines Day?
Check out our latest Contest.

Rich Fudge Brownies
Adapted from King Arthur


Ingredients

Directions

1) Preheat the oven to 350°F. Lightly grease a 9" x 13" pan
2) In a medium-sized microwave-safe bowl, or in a saucepan set over low heat, melt the butter, then add the sugar and stir to combine. Return the mixture to the heat (or microwave) briefly, just until it's hot (about 110°F to 120°F), but not bubbling; it'll become shiny looking as you stir it. Heating this mixture a second time will dissolve more of the sugar, which will yield a shiny top crust on your brownies.
3) While the sugar heats a second time, crack the 4 eggs into a bowl, and beat them with the cocoa, salt, baking powder, espresso powder, and vanilla till smooth.
4) Add the hot butter/sugar mixture, stirring until smooth.
5) Add the flour and chips, again stirring until smooth. Note: If you want the chips to remain intact in the baked brownies, rather than melting in, let the batter cool in the bowl for about 20 minutes before stirring in the chips.
6) Spoon the batter into a lightly greased 9" x 13" pan.
7) Bake the brownies for about 30 minutes, until a cake tester inserted into the center comes out clean, or with just a few moist crumbs clinging to it. The brownies should feel set on the edges, and the center should look very moist, but not uncooked. Remove them from the oven and cool on a rack before cutting and serving.
Enjoy. and don't forget to enter the contest.

Sunday, November 28, 2010

Repeat after me- Butter is NOT evil! Holiday Cookies Wk 4

Print

Last night I had a dream that Richard Simmons and Jillian Michaels came to perform an exorcism on me  because my head was spinning around and I had butter shooting out of my ears. I also think I was ranting something about baking soda will be my savior.. 

Yes people, the Holiday season has begun. And I am literally as stuffed as that 20 lb turkey I slathered in butter and roasted on Thursday. Yet somehow, I continue to polish of the last piece of pumpkin pie as I write this. 

Don't get my wrong, Thanksgiving is my FAVORITE holiday and I really enjoy the meal prep, but I totally have my fat pants on right now. Tomorrow calls for a whole grain and fruit detox.  And hopefully no one will be in the sharing mood and bring in left overs to work. 

Here's the irony. After all that cooking and eating, I still wanted to continue my weekly ritual and prepare the cookies for week 4.

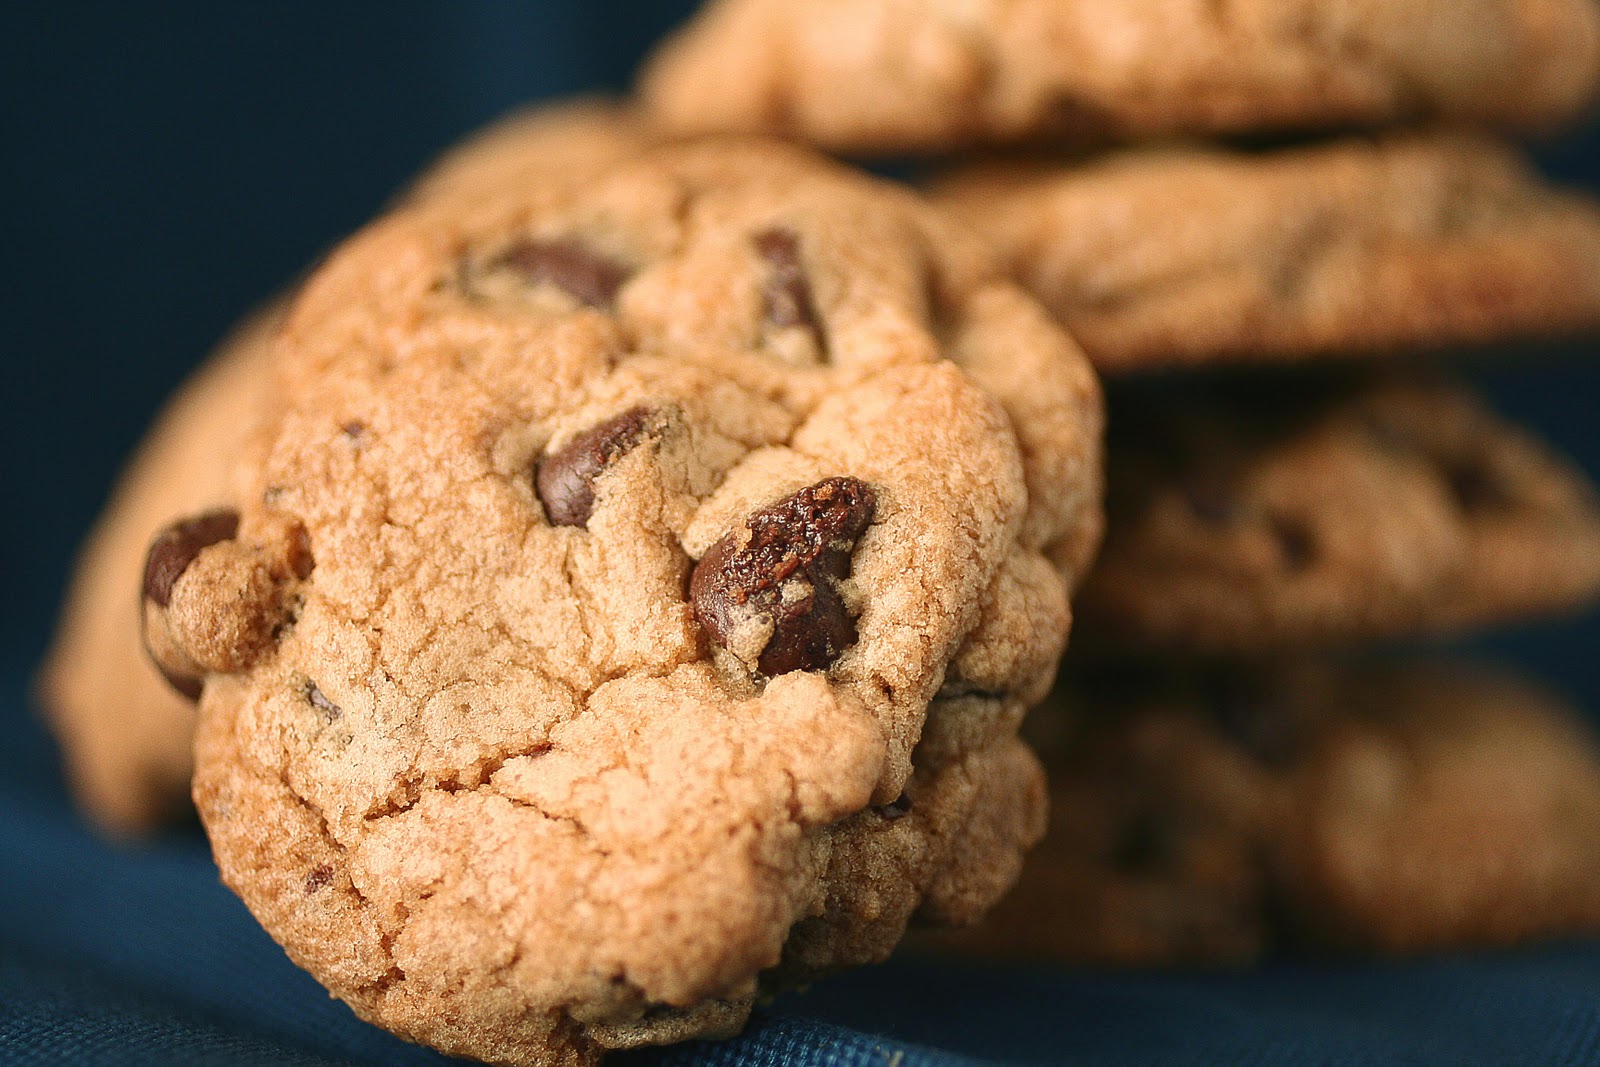
The cookie of choice?  Chocolate Chip of course. I actually struggle with this one a bit, because there is part of me that feels as if it really should not be part of the line up. I guess because it's a pretty common cookie. But who am I to look down on most coveted comfort food?  I love these cookies, and they are the best for this project for a number of reasons.

1) There are a million great Chocolate Chip varieties and recipes out there to choose from.
2) Everyone loves these. A sure winner.
3) The recipe makes a butt load and it makes a great filler so you can give people a lot of these and only a few of the pricier or special cookies.
My choice? Good old fashion Toll House cookies. With a bit of a twist of course;)  You can choose to follow my adaptation or theirs.

Couple of tips on this one. A small ice cream scooper comes in really handy here. I have a #70, whatever that means, but it makes it really easy to dose out, and less messy. Also, I like my cookies soft, so once they are baked, if you store them in an airtight container with a slice of bread, they will soften up. If you like them crunchy, skip the bread.

Chocolate Chip Cookies
adapted by Nestle Toll House

Prep: 10 mins
Cook Time: 12-15 mins per batch.
Makes 36-48 cookies

Ingredients
  • 2 1/4 cups all purpose flour
  • 1 tsp baking soda
  • 1 tsp salt
  • 1/2 cup shortening like Crisco. * I like butter flavored. This makes the cookies puff a bit.
  • 1/2 cup (1 stick) softened butter
  • 3/4 cup packed brown sugar
  • 3/4 cup granulated sugar
  • 1 tsp vanilla extract
  • 2 large eggs
  • 1 package chocolate chips, or chunks

Method
  1. Preheat oven to 375 degrees
  2. Combine butter, shortening, and sugars in mixer until pale and fluffy.
  3. Add baking soda, salt and vanilla and mix until combined.
  4. Add eggs one at a time until well combined.
  5. Add flour a bit a a time until just combined.
  6. Add Chocolate chips 
  7. At this point you can bake or freeze until ready to use
  8. Scoop on greased baking sheet and bake for 12-15 mins until lightly golden brown.
  9. Lay on wire rack to cool and then devour.

Enjoy!  I am off to take a Tums and make some Mama's Oatmeal for tomorrow.


Sunday, November 7, 2010

Mama's Secret's Out- The famous brownie recipe

Print

I have coveted this recipe for years. It's the kind of recipe that not just wow's your guests, it becomes legendary. I pause even as I write this, questioning if sharing is really something I want to do. But contrary to my husband's belief that only children never share, I am sharing.

This recipe has quite a history in it of itself; even before it got to me.

Once there was a wonderfully sweet guy that I worked with. I didnt' know him very well, not many of us did. All we knew was his name, a bit about his job and that his mom made these killer brownies. We knew this because every couple of months this shy and unassuming guy came around with this tin of brownies that his mother made for everyone. 

Soon, the word of how great these brownies were spread throughout the office and people would line up like a Krispie Kreme just opened up.

After a few years, he confided in a few of us that these ooey, gooey mouthfuls of heaven had a past sentimental symbolism. As a kid, he would go to camp every year. He was painfully shy and had difficulty making friends. So, his mom being the caring person she was, would make these brownies and send them along in a care package. She sent so many that he had no choice but to share. Easy Peasy.. instant ice breaker...
20 years later mama never stopped sending the brownies. I guess you are mom forever and never stop wanting to help your kids. My mom certainly hasn't; and while I haven't seen any shyness in my brewd, I can't wait to pass along mama's recipe and help them "break the ice"

With and gulp and a smile, I pass along "Mama's Brownies". Clearly kid tested...Mother approved.

Prep: 15 mins.. (carmels are the worst part)
Cooking time: 28-35 mins...
*tip- tastes better if made the day before.

Ingredients
  • 1/2 cup Evaporated Milk
  • 1 bag Kraft Caramels
  • 1 package German Chocolate Cake Mix
  • 1/2 cup Evaporated milk 
  • 1 1/2 sticks softened butter
  • 1 cup walnuts (slightly chopped)
  • 1 cup coconut flakes
  • 12 oz chocolate chips
Method
  1. Preheat oven to 350 degrees.
  2. Unwrap caramels from wrappers
  3. In large heat proof bowl place caramels and 1/2 cup evaporated milk
  4. Heat caramels in microwave on high for 5 minutes. Stopping and stirring occasionally. Continue process for longer until caramels are melted.
  5. When caramels are melted, continue stirring to incorporate all milk. Set aside and let cool a bit.
  6. In mixer, incorporate cake mix, 1/2 cup evaporated milk, & butter. Mix well.
  7. Add coconut and nuts. Mix well.. It will have the consistency of cookie dough.
  8. In 9 x13 metal pan ( coated with PAM or lined with Aluminum foil) spread half the dough evenly on pan.
  9. Bake in oven for 8 mins and then remove to add the remaining ingredients.
  10. Spread caramel evenly over pan. 
  11. Next sprinkle chocolate chips over caramel layer.
  12. Lastly, drop remaining dough mix over caramel. 
    • Try to drop as well spread as possible. The dough will expand a bit while baking but since the initial dough is thick, and the caramel layer is gooey, you wont be able to spread it easily like you will be tempted to do. I find an offset spatula works well with this recipe.
  13. Continue baking for an additional 25 mins. 
  14. Take out of oven.
    • It will still be wobbly and gooey, but it's done. 
  15. Let cool, slice with a knife to make squares, and then refrigerate overnight. If you can wait that long.
Enjoy.. and let me know how your reviews are.